Goal of this article
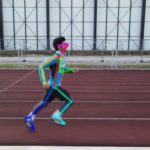
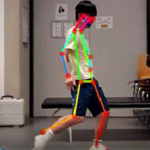
The goal of this article is to reconstruct 3D pose estimation data from two 2D pose estimation data. I captured my motions by using 2 cameras placed at 2 different angles. The pictures below are the front and side view.


Then, I used OpenPose to extract 2D joint positions from each frame. If you do not know OpenPose, please check out my YouTube video!!
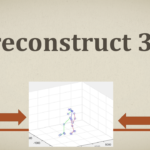
After extracting 2D data, I reconstructed 3D data, and the result is below…
I think it is not too bad. Indeed, it is without filtering or anything.
What is 3D reconstruction ??
3D reconstruction is a technique you can use to rebuild 3D data from 2D data. It is a very important technique for pose estimation because we live in 3D world (or maybe more dimensional). Therefore, 2D data is simply not enough to describe your pose and motions. However, when you take a picture or video, you lose the information of depth. You could direct the location of your pen like 2cm, 4cm, and 8cm in x, y, and z-axis respectively from my right pinky, but suddenly you can only say that my pen is in 200 and 400th pixel in the picture. That is so sad, isn’t it?
It is sad, but you don’t have to worry about it! In this series of articles, I will explain how to regain the information of depth step by step. There are mainly 2 steps to go through. The first step is camera calibration, and the second step is triangulation. I will first explain the camera calibration in this article.
Camera calibration
The goal of camera calibration is to get intrinsic and extrinsic camera parameters. The intrinsic camera parameters are a set of information regarding the camera itself. Those are the focal length and principal point. The focal length is the length between a screen of a camera and a focal point where all the light comes through from a camera lens. The principal point is the center point of the camera screen. The extrinsic camera parameters represent a camera location. It usually consists of a rotation matrix and a translation vector.
How to calibrate camera??
There are several ways to calibrate cameras, but in this article, I used the stereo camera calibration app on Matlab. It is very simple and user-friendly. The app uses frames of videos and a checkerboard, so you have to prepare those materials beforehand. I will explain how I did it step by step.
Prepare videos with checkerboard
This is a very simple step, but there are a couple of important points. First, you have to print out a checkerboard and put it on a solid board. You can create the checkerboard and print it out at this website https://markhedleyjones.com/projects/calibration-checkerboard-collection
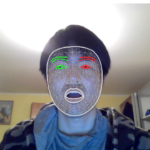
Also, you have to prepare light. This is to synchronize 2 cameras later on. If your cameras are already synchronized meaning you can record the video at the same time, then you do not need to worry about it. You can see how it loos from the pictures below.


I could timely synchronize the cameras by finding the frame which the light just flashed.
Import the frames into matlab
When you open the stereo camera calibration app, you will see the screen below.
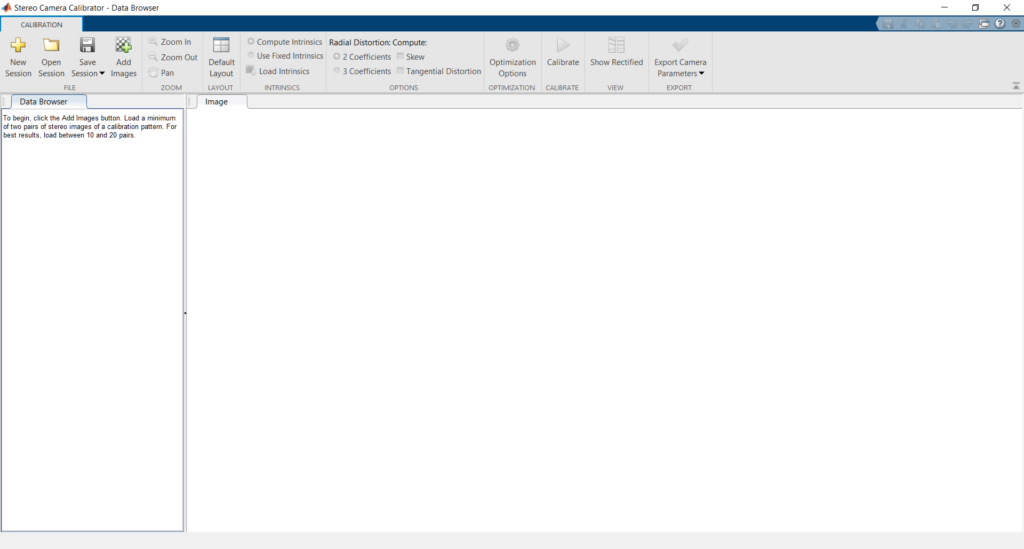
You can select the “Add images” button on top and you can choose frames on the pop-up UI. On the same UI, you can choose pattern and checkerboard size. You should remember what kind of tool you used and need to choose the correct one.
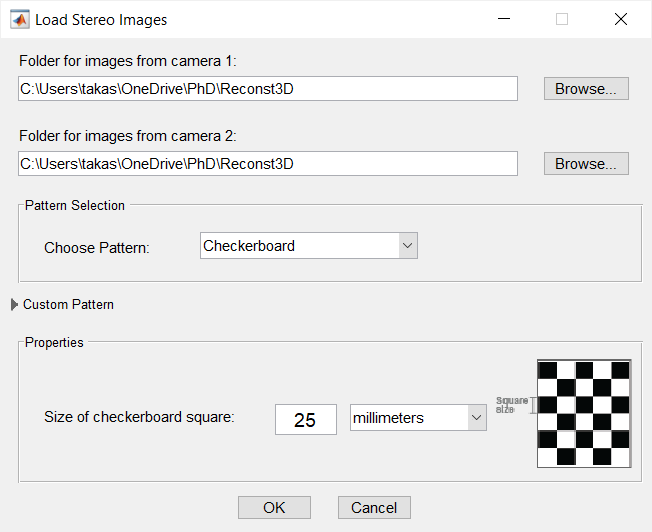
After correctly filling in the information on the UI, you click ‘OK’. Then, Matlab automatically calculates camera calibration for you. It might take time depending on the resolution and number of frames. Be careful with the data limitation. Matlab can handle a certain amount of data. If you reach the limit, you get the error. In that case, you can reduce the number of frames to import.
Camera parameters output
After finishing the camera calibration, you will get the screen below.
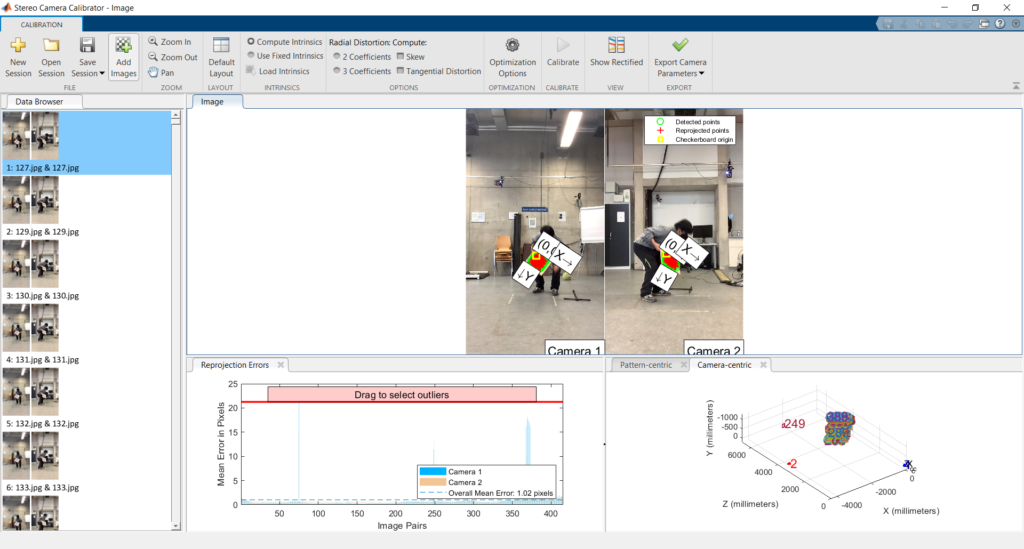
You can see the estimated positions of the 2 cameras on the plot on the left bottom corner. Next to it, there is a graph with a reprojection error. The important point is that you need to exclude the pair of frames which have a big reprojection error. You can just scroll down the red threshold bar. Then, Matlab automatically selects pairs only within the threshold. After you satisfy with the reprojection error threshold, you can simply press the ‘Export camera parameters’ button above and import it on your WorkSpace on Matlab.
In the next article, I will explain how to use the camera parameters to perform triangulation which we need for 3D reconstruction. I have explained the camera calibration on my YouTube video, so please check it out! Also, there is a lot of useful and fun content on my YouTube channel. Definitely come visit and subscribe !!
Are you interested in working with me?? You can email me at takashi.sports.and.exercise@gmail.com
Also, you can see my gigs on fiverr!!